Today’s the day. The day we start our journey in getting our photos from our camera (or phone) to our computer and then into our hands in a organized fashion. Yes, it seem like an overwhelming task but it’s totally doable. Coming up with a good system, and then sticking with it will save you tons of time later, especially in this digital age. If you are starting fresh, great, but if you have some clean up to do, no problem. Just make sure you don’t try organize everything in one day because we don’t want you to burn out and give up.
Well, let’s get started. Today I’m going to tell you how I get my files onto my computer, how I organized them, and the basic steps to the beginning of my workflow. This is my work flow for when I shoot with my actual cameras, not my iPhone. My iPhone pictures will be another day.
Step 1: I remove my memory card from my camera(s) and plug it into my card reader. I have a Rocketfish card reader. The one I have seems to be out of stock, but honestly, I have no preference in card readers. I just picked one up a few years back and it’s been good to me. You can use the cable that comes with your camera to download your pictures but a card reader is much faster. Plus, I’d prefer not to have my camera connected to my computer while my files are transferring. Some computers might also give you the option of plugging the your card right into it. I shoot RAW so transferring through the cable takes much longer. Another added benefit is when I’m downloading multiple cards I don’t have to keep opening my camera up to change cards but instead I just plug each card into the card reader one after the other. All in all, it’s cut down my downloading time.
*For those of you who have no idea what shooting RAW, you can read up on it here. 🙂
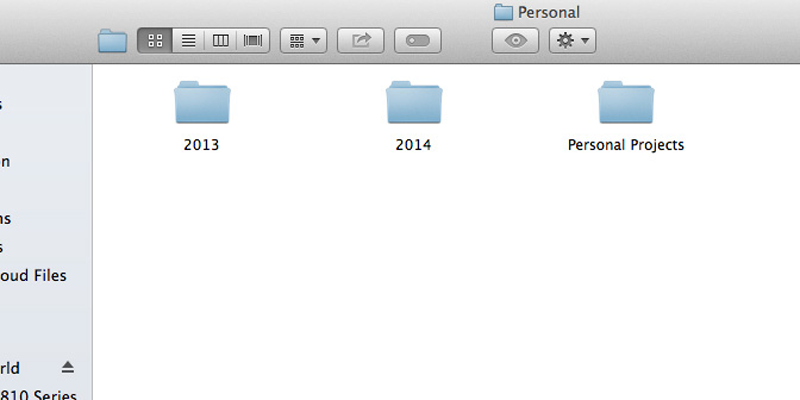
Step 2: Decide where you will be transferring your photos to. I have one folder on my computer titled ‘Pictures’. Inside my ‘Picture’ Folder I have have a ‘Personal’ and then other folders relating to my business but we are only concerned with the ‘Personal’ folder for today. Inside the ‘Personal’ folder I have ‘Yearly” folders and then an ongoing folder for ‘Personal Projects’. I usually only have the current year and then the prior year, but once I print photos I remove the prior year. I have one more month in 2013 to finish and then 2013 will be archived.
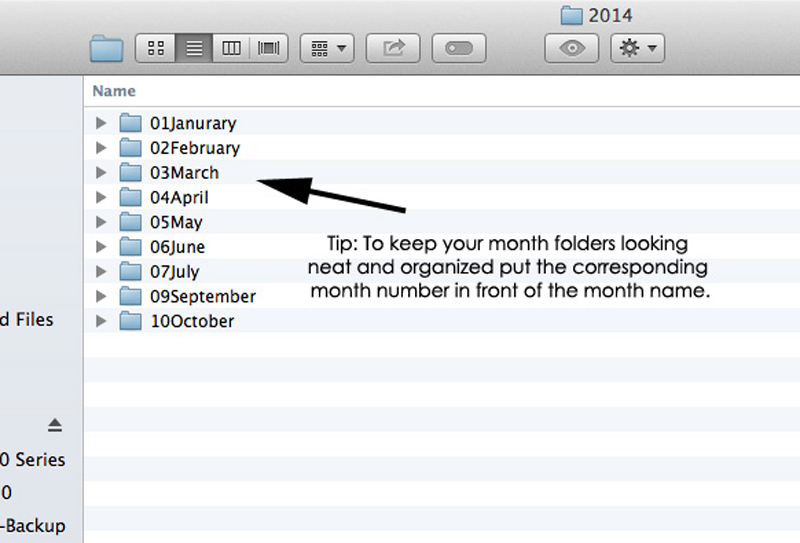
Step 3: Inside each each year folder I break it down by month. Then when I download my memory card the RAW files go directly into the month folder in which they were taken. Occasionally, I’ll have a more specific folder for a special event, like a birthday, vacation, or holiday. It will look something like this.
*I didn’t take any August photos with my camera so that’s why that month is missing. I swear, I know there are 12 months…haha. I guess August was a big iPhone month.
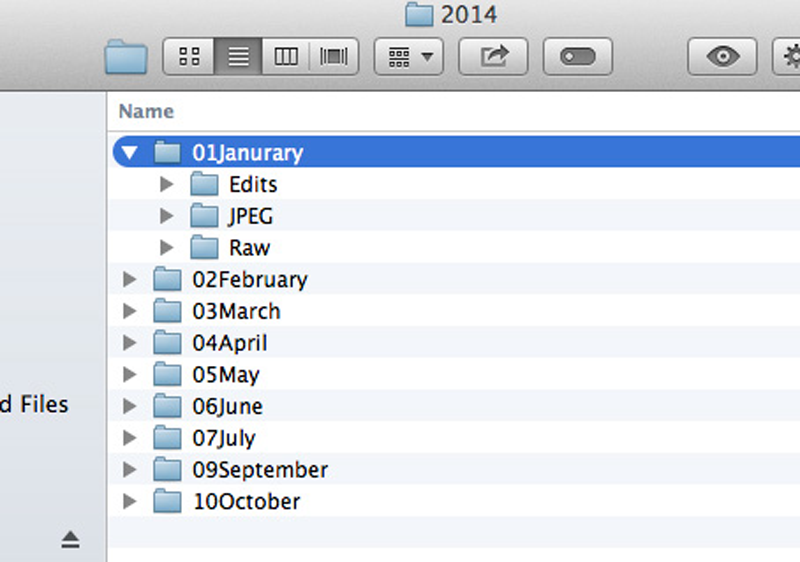
Step 4: Then inside each month I create 3 folders.
- RAW (If you don’t shoot in Raw then you probably would just put your jpegs into the main monthly folder.)
- Edits (Sometimes I do a little extra editing on personal photos that I enlarge or use in blog posts)
- JPEG (I eventually convert all the photos I keep to JPEGs and then upload them to print from this folder)
So that is my basic file organization structure for my personal photos. If you are just shooting jpegs then you probably will have fewer folders inside your monthly folder. That’s totally fine. I like the month system because my camera always has the date the photo was shot so I don’t feel the need to break my folders down by day. That would totally overwhelm me.
If you are looking at your big jumble of photos on your computer and don’t now where to start. I’d say just create your year and month folders and start putting your photos into the proper spot if you can determine when they were taken. Or just start today by putting your photos here on out into the proper place.
My next post will be how I cull my photos. I bet some of you are wondering what the heck culling is? 🙂
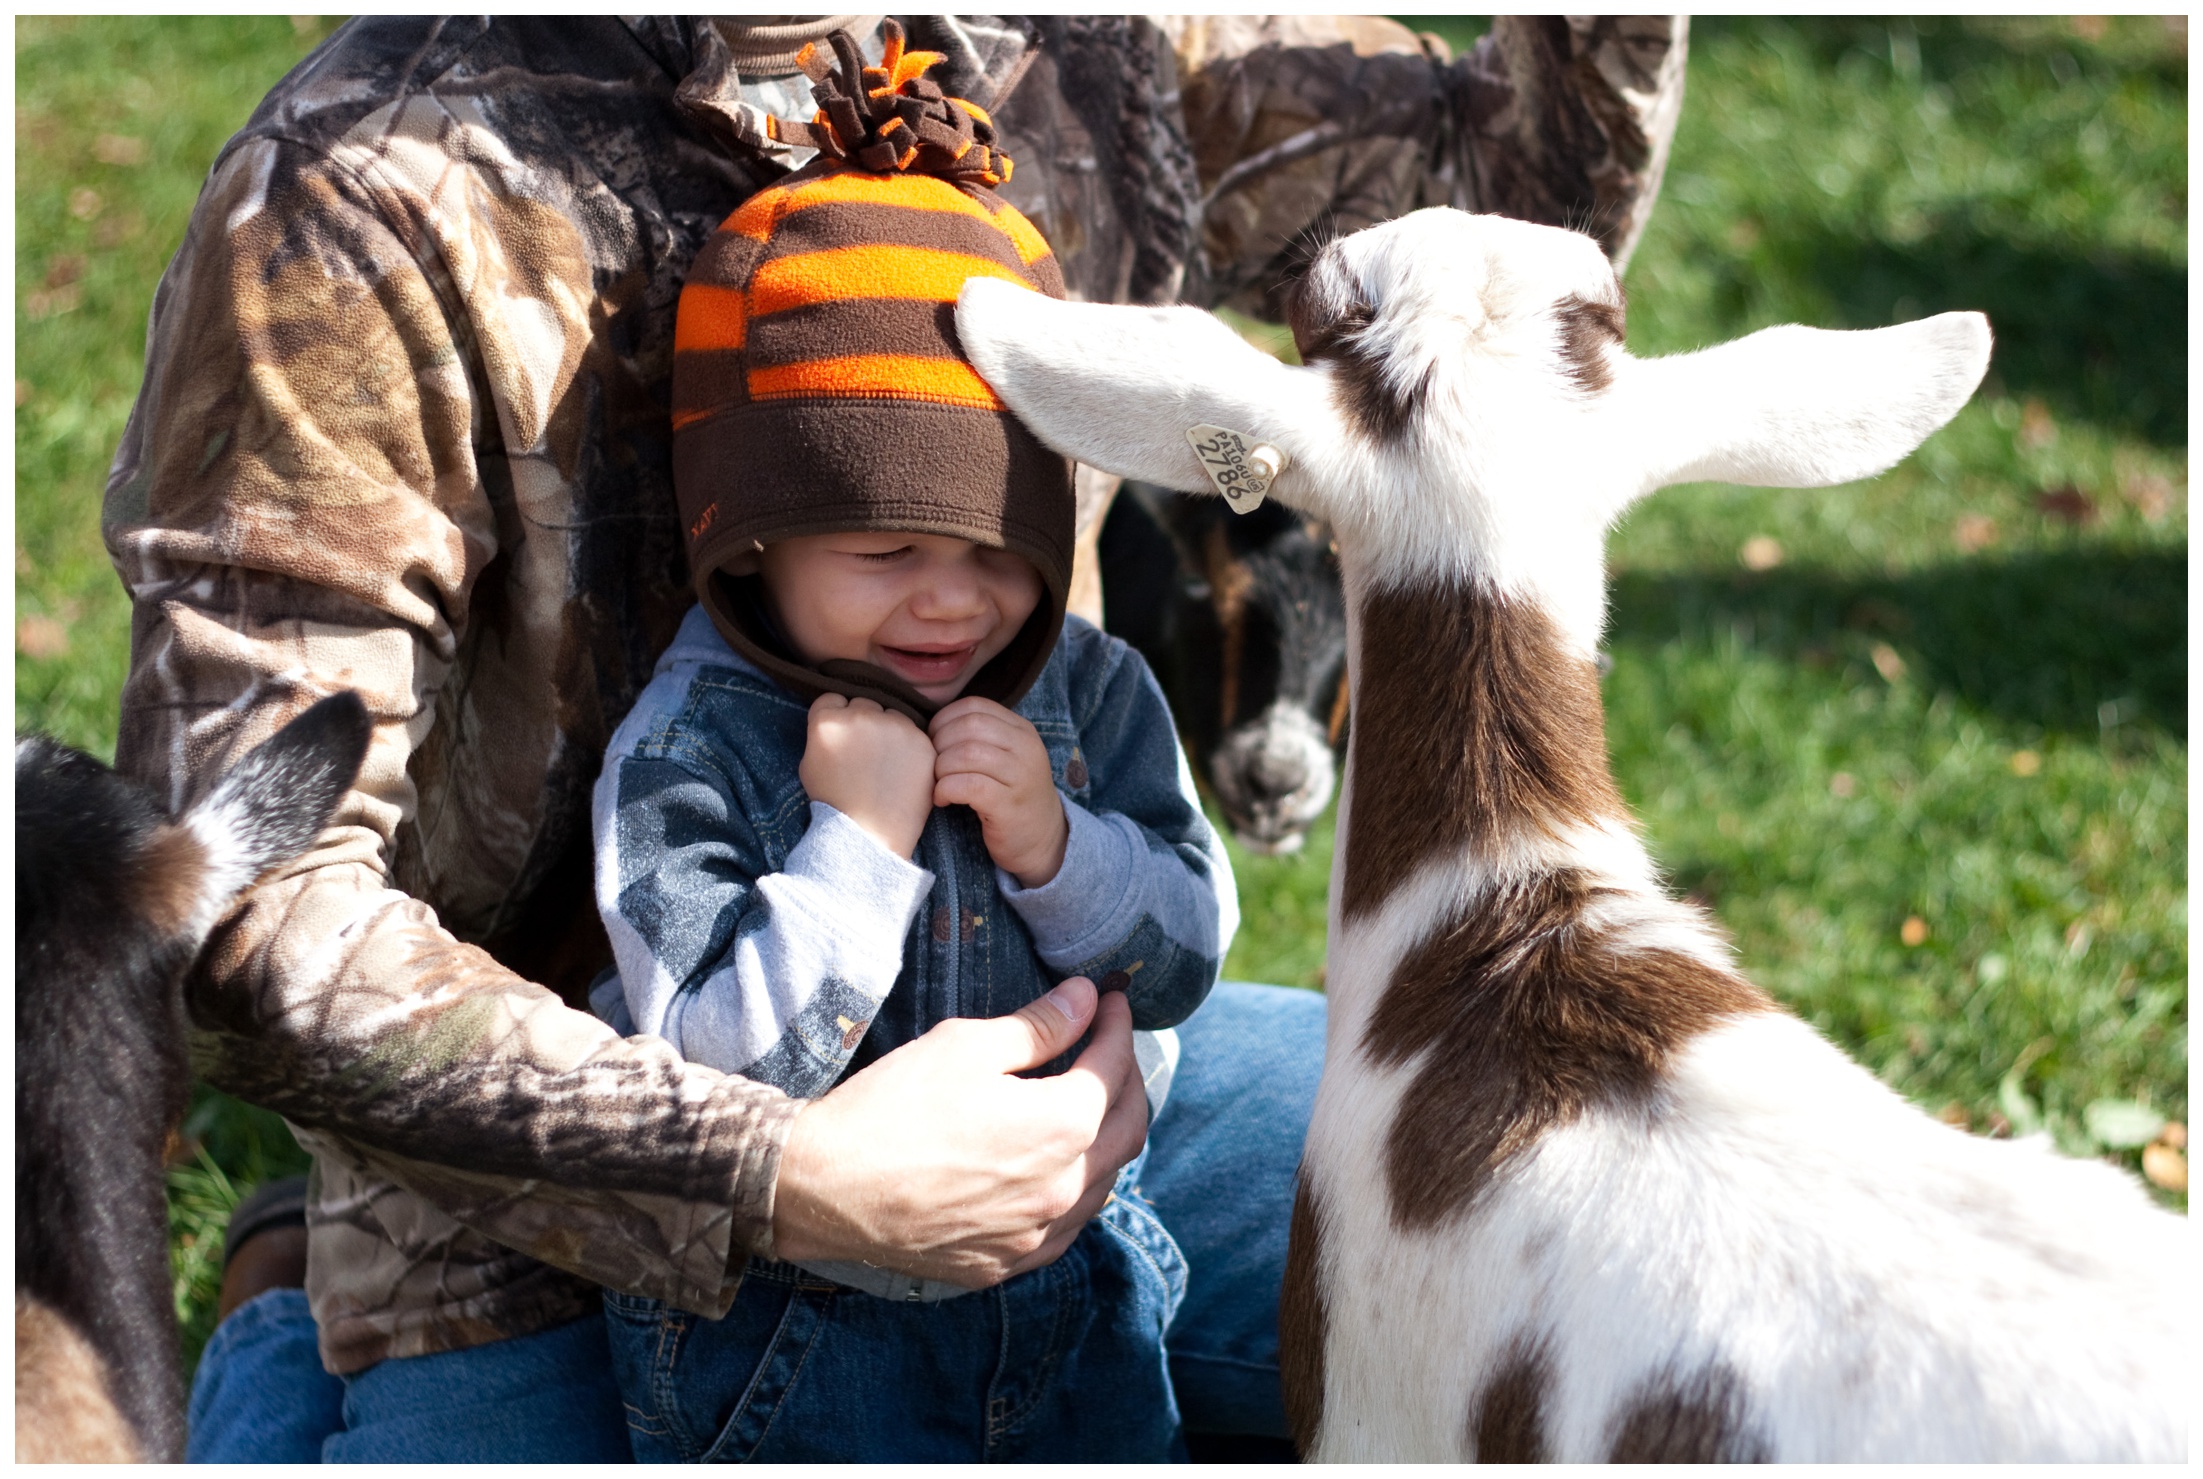
Since, this blog series is about personal pictures. Each post will include a current personal picture of mine. This one was taken at Karlyanne’s preschool fall festival. Clay was not so thrilled about feeding a goat in the petting zoo. You would have thought we were feeding him to the goat. Poor guy.